Do you know even one Shopify store owner who doesn’t want to reach thousands of potential customers worldwide? Well, that’s a tough task! Integrating your Shopify and Google Merchant Center is a decent way to attain the same.
Now, when you link your Shopify store, you can design perfectly targeted advertisements for customers who are looking for specific products. Besides that, you can enhance them by using product information and photos from the Merchant Center for your Shopify products.
Yes, you got it now, right? It is a decent way to boost sales and profits. Now, this article is dedicated to explaining this process. If it is not that tough to add Shopify products to the Google Merchant Center, you still need to be perfect while following this procedure.
Once you do it, you will be able to reap a lot of benefits along with a few key features that will help you in making great strategies as well. Keep on reading, as you will get to know a lot about Shopify and Google Merchant Center today.
Key Takeaway :
The provided search results do not contain relevant information to answer the question. However, I can provide guidance on how to add Shopify products to Google Merchant Center based on existing knowledge.
To add Shopify products to Google Merchant Center, you can follow these general steps:
1. Integrate Shopify and Google Merchant Center: Use the Google Shopping app in Shopify to connect your store to Google Merchant Center. This allows you to sync your products and store information.
2. Register and log in to Google Merchant Center: Create a Google Merchant Center account or sign in if you already have one.
3. Input tax and shipping information: Provide accurate tax and shipping details for your products to comply with Google’s requirements.
4. Confirm and claim your website: Verify and claim your website in Google Merchant Center to demonstrate that you own and manage the website linked to your products.
5. Link Merchant Center and Google Ads accounts: Connect your Google Merchant Center account to Google Ads to enable the use of your product data in Google Ads campaigns.
6. Streamline product addition using data feeds: Upload product data feeds to Google Merchant Center to ensure that your product information, such as titles, descriptions, and prices, is accurately represented on Google Shopping.
By following these steps, you can effectively add your Shopify products to Google Merchant Center, allowing you to create targeted advertisements and enhance product visibility.
If you need further assistance with the specific details of this process, please feel free to ask.
What is Google Merchant Center?
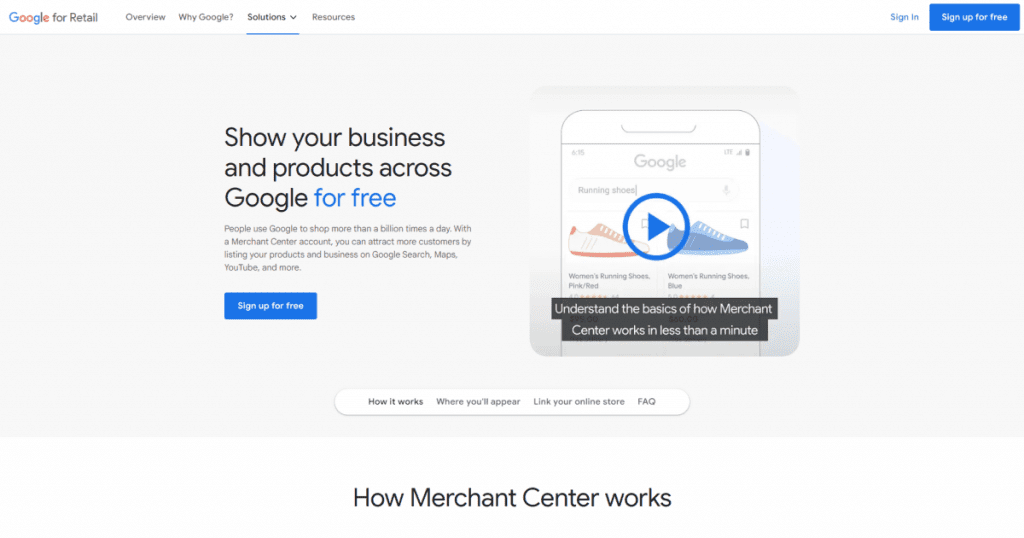
Now, it is the time to buckle up for a wonderful tour into the e-commerce galaxy. We can call Google Retails ( formally Google Merchant Center) a mission control centre for your Shopify store products. It’s like a wizard behind a curtain, making your nice products visible across the huge landscape of Google.
Now, here’s the deal: you just need to upload your product information, including prices, titles, and snazzy images, into this Merchant Center. After that, just sit behind and see the magic. Once you send this data to Google, a lot can happen over it.
Your products will pop up in relevant searches and even on a few eye-catching ads, which will convert amazingly. You can call it your backstage pass to Google’s shopping playground. That is not all. The Merchant Center does much more than just throw your products out randomly.
It gives you the flexibility to organize and categorize them so that your products land in the right hands. Yes, we are talking about accuracy, and you must already know that accuracy is everything when it comes to finding prospects and potential clients and landing the right products in their laps.
It is pretty much like Google helping you in selling the products. Yes, that won’t be an exaggeration by any means. So, if you are involved in selling a business, Google Merchant Center is going to be a great help. It will help in emptying your virtual shelves faster than normal.
Is Google Merchant Center free?
Google Merchant Center is a free platform where you can showcase and promote your vast products online. It is as simple as uploading your product data, including vital details that any potential buyer may need, such as images, prices, types, sizes, etc.
However, you need to consider that running ads with the help of Google Shopping campaigns or Google Ads will highly boost your product’s visibility. But you will have to pay extra for all these.
However, you don’t need to fear yourself as getting your products Google listed and gripping the basic functionalities offered by Merchant Center won’t cost you anything in comparison to those paid campaigns.
It’s a very pocket-friendly way to explain your online business. To add Shopify products to Google Merchant Center without any hassle, the key lies in seamless integration facilitated by the Shopify app store (Simple possess, though).
Ensuring Compliance: Filling in Essential Tax Information
We’ev offered you guides on decent Shopify integrations, tricks related to video banners, putting social media icons, this and that. But right now, the talk is all about a big necessity – a serious talk.
If you feel like e-commerce is all about researching markets and selling products, then you are wrong. You are actually ignoring the importance of compliance with the vital administrative aspects. We can look upon essential tax information as a crucial step in your e-commerce journey.
It is much more than just ticking boxes on some forms. Yes, it holds more importance, especially if you won big business or a Shopify Plus user. You need to be highly precise when you fill in your tax information. This way, you can perfectly align your online business with your local legal landscape.
Thankfully, the process is pretty user-friendly for Shopify users, and they can seamlessly put all the vital tax details specific to their locality. Now, what is the importance of this tax filing? When you insert your exact tax information, it reflects that your business adheres to regional tax regulations, and this way, you save yourself from potential legal pitfalls.
Simply put, you are laying a strong foundation for your online store. It will survive for long without any difficulties in terms of legalities.
Filling text information is somewhat like a backstage thing in an e-commerce spectacle, but we can call it the backbone that supports the operation of your Shopify Google shopping integration. So don’t be hasty when filling in your text details. You can do some Google research about the same or meet with the text expert.
Also read: Stripe vs Shopify payments: What’s more convenient?
Optimizing Efficiency by Exploring Third-Party Automation Tools
When it comes to running an online store on Shopify, many tasks eat up your time. Now, dream of a virtual assistant that handles all vital tasks for you and saves you a lot of time by tirelessly working.
Now, that thing is comparable to third-party automation tools. These tools prove to be unsung heroes of your e-commerce saga, which tends to make your life much easier. Hence, it’s important to explore them.
Using this secret source, you can take your Shopify and Google Merchant Center partnership to a new level. You can use these tools to synchronize data effortlessly and ensure that your shipping information, product feeds, and other vital details are perfectly transferred.
These tools act as your backstage crew that helps you run your show smoothly. When you automate your tasks, you just don’t save time. You enhance accuracy and reduce the risk of human errors as well.
Now, when you check the list of most helpful third-party automation tools, invest some time in researching them, finding pros, cons, pricing, features, and a lot more. If you make a proper set of these automation tools and start using them, it will take no time to fine-tune the success of your e-commerce performance.
Now, when you kiss efficiency, you actually unlock the full potential of your online business.
Also read: How to Put Icon Images in Shopify Footer
How to add Shopify products to Google Merchant Center
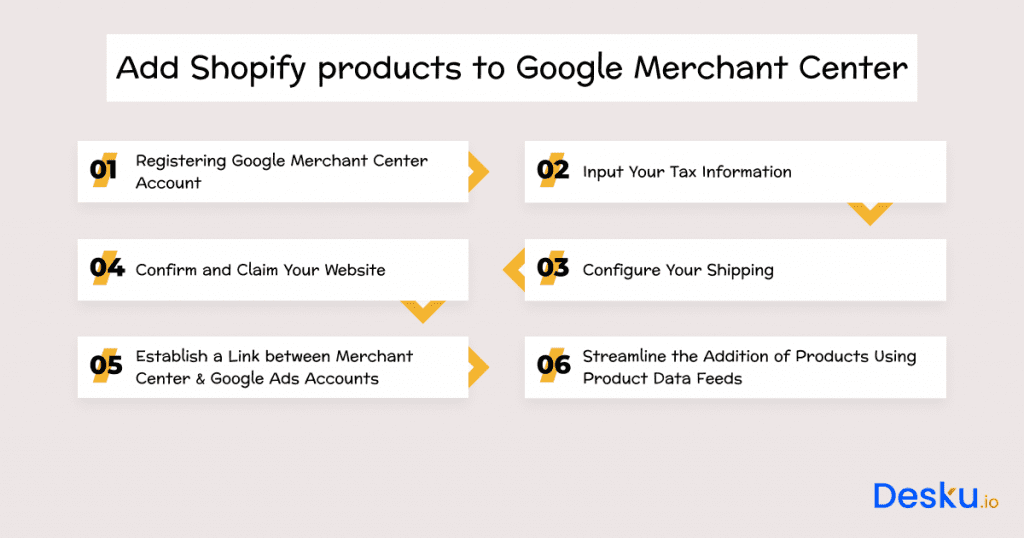
Step 1: registering Google Merchant Center Account
Obviously, before integrating Shopify and Google Shopping, you need to register or log in to your Google Merchant Centre Account. This account needs to be verified, and then you can log in using your Gmail credentials. In case you don’t have a Gmail account, just create one.
Step 2: Input Your Tax Information
Inputting your text information is one of the vital steps in Google Shopping and Shopify integration. Fill in accurate text information and keep in mind that even a small mistake can create a huge mess over here. You can even use some tools for doing that, but we would highly recommend you manually input all your details by navigating to the payment sections, which you find in settings, then text info, and then tap edit.
Step 3: Configure Your Shipping
Enter shipping fees. If you plan to do it manually, you need to create a new shipping service. You can find this in the merchant centre under the shipping and returns section in the tools option. Specify currency, country, and various relevant details for your shipping.
Step 4: Confirm and Claim Your Website
Access settings after logging into your merchant center account, tap business information and manually verify your website. Tap on verify and claim once you select your website address.
Step 5: Establish a Link between Merchant Center & Google Ads Accounts
Find linked accounts under the settings tab. Tap on Google Ads and tap on the linked account in a different Google Ads account. To link the account to Google Ads, you need to attach the Google Ads customer ID.
Step 6: Streamline the Addition of Products Using Product Data Feeds
In case you are dealing with a huge inventory list comprising a lot of items across various categories, Manually inputting each one of them into your Shopify product data feed can be pretty bewildering. You can, however, save many hours by adopting automation. You can try some tremendous third-party tools.
Also read: Magento to Shopify Migration Checklist
How Desku Elevates Your Shopify Product Integration with Google Merchant Center?
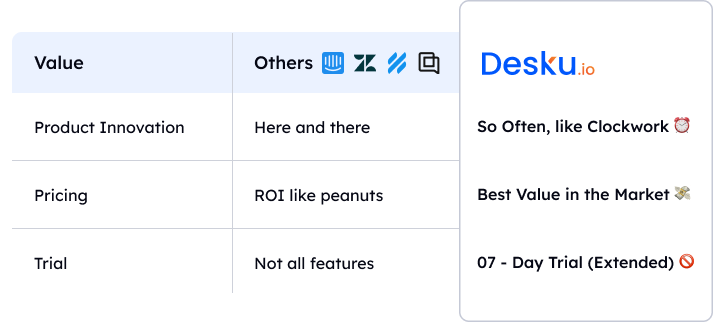
As you expand your product reach through Google Merchant Center, Desku can become a valuable asset in handling customer inquiries related to product information & order status.
By integrating Desku, your support team can work fabulously with supportive features such as Eva AI and the Ticket Assigning system. Your support team can deploy Desku’s AI-powered bot to answer support questions automatically and accurately. Thus allowing your team to focus on complex queries.
Make the most of your Shopify-Google integration by complementing it with Desku’s powerful customer support features.
What should I do if I want to claim my Shopify site at Google Merchant Center?
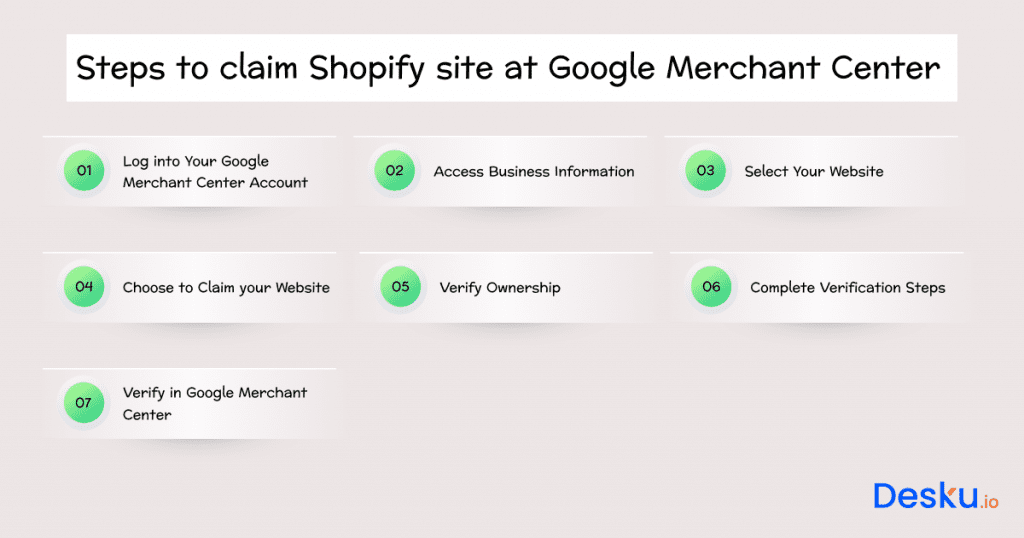
Log into Your Google Merchant Center Account:
First and foremost, log into your Google Merchant Center account using your own credentials.
Access Business Information:
You move to the “settings” on the merchant centre’s dashboard. In this portion, go to “Business Information”.
Select Your Website:
Under the “Website” column, select it. In this case, you’ll have to provide your website address.
Choose to Claim your Website:
Following the successful entry of your site address, a button should be provided for claiming your website. Click on it.
Verify Ownership:
There are several ways through which ownership can be verified in the Google Merchant Center. Adding an HTML tag to your website homepage is a common method. Select the most preferable approach for you from this selection.
Complete Verification Steps:
Use verification steps that relate to the chosen method. To incorporate this functionality via the HTML tag method, copy the provided tag and insert it within your website’s home page <head> section. For instance, if you choose HTML file upload, get a copy of the linked file and place it on your website’s server.
Verify in Google Merchant Center:
After this, you can add the tag or upload the file to the Google merchant centre and click the “Verify” button. Google will verify ownership of the tag or file by checking it on your site.
Confirmation: Once it verifies your details, you will get a notification on the Google Merchant Center account to claim that you officially own your Shopify website.
Also read: 14 Best Landing Page builder Apps for Shopify
Conclusion
Suppose you are planning to integrate your Shopify products into Google Merchant Center. In that case, it is truly a strategic move that will propel your online store into the bright spotlight of the digital marketplace.
Whether we talk about the initial steps of logging into Google Merchant Center or the final ones, where you fine-tune the efficiency using third-party automation tools – this process is much more than just meeting the requirements. It is all about optimizing the performance and visibility of your products.
You can start by simply accessing the Google app in the Shopify app store and linking it to your Google account. Once the installation is complete, navigate to your Shopify admin and use the Google app to link up your Shopify store with Google Merchant Center.
Now, with this amazing integration, you can sync your product listings with Google in no time. Moving ahead, you can automate the process by enabling the “Automatically sync” option. This will streamline the continuous update of your inventory on Google Merchant Center.
Once you claim your Shopify website on Google Merchant Center, imagine you have ticked a big box. You are securing a front-row seat for whatever you sell in the huge world of Google Shopping.
Technically, this process is not very tough, but when you look at it materialistically, it is truly great. By doing this, you can help your storefront stand out and thrive in the e-commerce landscape with time.


